
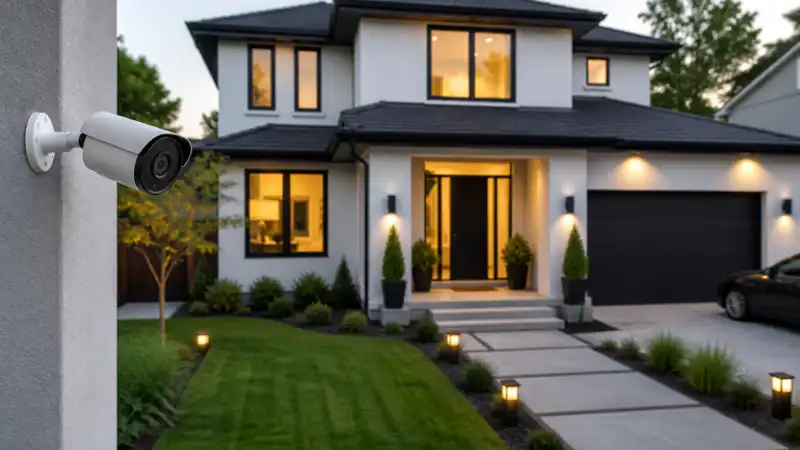
Most homeowners can picture the camera on the wall, but fewer picture what it will actually see at 9pm when a car turns in and the porch light flares. Good outdoor camera placement is about seeing who approaches the house, clearly, without spoiling the exterior or leaving a hidden route unwatched. Below is a walkthrough of four exterior zones, followed by a check to make before drilling, so you can confirm that positioning your outdoor cameras in the right place gives useful footage by day and after dark.
Start with a simple sketch of your plot, including doors, gates, accessible ground-floor windows and the paths that connect them. Mark the routes someone would most likely take to reach the house and plan around those. You aren’t trying to film every corner of the garden, just to see the ways in.
Where to Place Outdoor Cameras Around Your Home: A Room-by-Room Guide to Entry Points, Lighting and Blind Spots
Front door and porch: outdoor camera placement for clearer faces
Aim for a position on a suitable porch wall or support that sees the front path and the spot where visitors naturally pause, rather than only the doorstep. For a conventional overview camera, roughly 2.4 to 3 metres is a sensible starting point, always subject to the manufacturer’s guidance. Lower is easier to reach and tamper with, while much higher gives a steep, top-down view of hats and hair rather than faces, so the aim is a balance. Don’t assume one wide-angle camera will capture every detail either.
A doorbell camera is a different job. Mount it beside the door at the height the manufacturer recommends, which gives a close view of whoever stands there, and don’t raise it to overview height.
Then look for interruptions. Porch columns, hanging baskets or an open front door can break the approach view, so choose a spot that sits neatly with the exterior without hiding the lens. Finally, check the light: a bright sky or street behind a visitor can turn them into a silhouette, low sun at certain hours can wash out the image, and a porch light shining towards the lens causes glare. If faces suffer, move the camera or reposition the lighting rather than accepting poor footage.
Driveway and garage: cover the approach, not just parked cars
A secure garage-front wall or house corner that looks along the driveway to the garage and the pedestrian approach is usually the best candidate. Decide which route each camera needs to show, because a broad driveway overview doesn’t automatically give useful facial detail at a distant garage door. If there’s a separate garage access door, make sure someone walking to it is covered too.
Check sightlines with vehicles parked where they normally sit, since a tall vehicle can easily hide a person walking to the house. After dark, test incoming headlights, and by day check low sun; if either blasts the lens, shift the angle while keeping the approach route in view.
Where the driveway view leaves a gap beside the garage or near the porch, add a modest overlapping view instead of widening one camera until everything becomes too small to read.
Side gates and ground-floor windows: reveal narrow-route blind spots
Side passages are easy to overlook and often hidden from the street. Look for a side-wall position that sees someone entering the gate and moving to accessible ground-floor windows, and concentrate on that connecting passage rather than fitting a camera to every window.
Walk the route with the gate both open and closed. Gate panels, fences, corners and dense hedges all create gaps, and a modest overlapping view may be needed to close them. Allow for hedge and tree growth too, trimming only what blocks essential sightlines rather than stripping out planting for blanket coverage.
Narrow passages bring a night-time problem, because infrared light bounces off nearby walls, soffits and foliage and can leave the route beyond looking dim and washed out. Keep those surfaces clear of the camera’s illumination where you can, and check the footage. Keep the framing on your own property, away from neighbours’ windows and private garden areas, and check local requirements if a boundary view is uncertain.
Rear doors, patio and garden access: follow the paths through planting
At the back, choose a rear-wall or patio-edge position that captures the approach to the doors and the path from any garden gate. Prioritise routes into the house over a sweeping lawn view, which tends to show little useful detail.
Trace each approach behind trees, hedges and pergola posts, and check whether patio furniture or seasonal planting hides someone before they reach the door. Where a pergola or garden corner splits the route, two modestly overlapping views are more dependable than one wide-angle camera trying to see through obstructions.
Light changes here more than anywhere else: shade moves through the day, direct sun can flare, patio lights can glare, and leaves or beams close to the camera can reflect infrared. Light the approach without aiming a bright fitting at the lens. An eave offers useful shelter, but keep both lens and infrared illumination clear of it, and never count on shelter to make an indoor-rated camera suitable for outdoor use.
Before drilling: check the mount and walk every approach by day and night
Start with the practical side. Confirm each camera’s weather rating and operating limits suit its exposure, then check the mounting surface, secure fixings and protected cable connections, and plan tidy cable runs that suit the exterior. Test power and connectivity at the actual position, with doors and gates in normal use, and make sure you can safely reach the camera later to clean the lens, clear cobwebs or change batteries.
Next, trial each position securely without permanent drilling where practical, and ask someone to walk every mapped approach at an ordinary pace. Review the recorded footage, not just the live view, then work through three checks.
- Faces: can you make out facial features where visitors approach or pause, without a steep top-down angle or an overly distant view? If not, adjust height, angle or framing.
- Routes: repeat with cars parked, gates open and closed and garden furniture in place. Check the handover between camera views and allow for plant growth.
- Night: repeat after dark with your usual porch and garden lighting, and headlights where relevant. Look for silhouettes, washed-out faces, infrared reflections and missed recordings, and confirm the connection holds.
For awkward corners, persistent glare or gaps you cannot close, professional placement advice can help, and Smart Security’s guide on how to position outdoor cameras (https://www.smartsecurity.com.au/how-to-position-your-outdoor-cameras-in-the-right-place/) is an optional deeper how-to for complex layouts. Fix cameras permanently only once your priority routes pass every check, and revisit the views after landscaping changes or when you move outdoor furniture.