
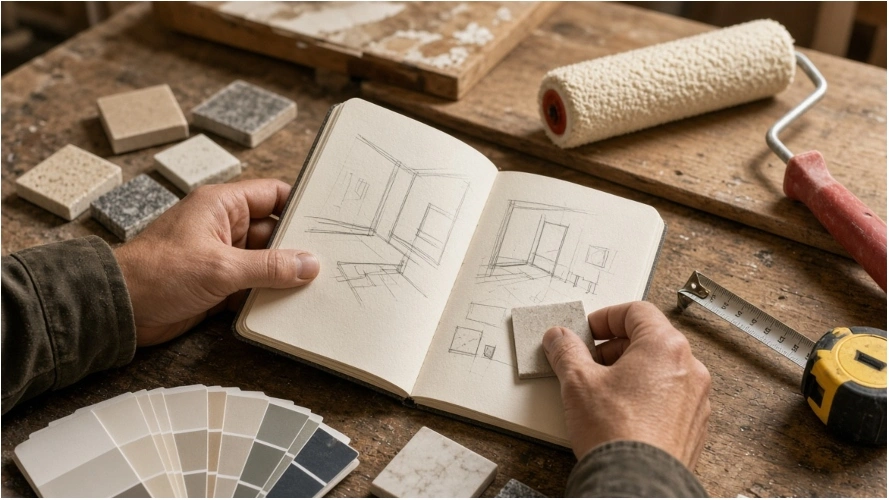
Home renovation does not have to mean gutting everything or spending a fortune. Smart planning, clear priorities, and a mix of DIY-friendly updates plus professional help where it counts can transform how your space looks, feels, and functions. Whether you are refreshing a single room or tackling a larger project, the approach below focuses on results that last, avoid common pitfalls, and fit real budgets and lifestyles.
Start with Clear Goals and a Realistic Plan
Before buying paint or calling contractors, define what success looks like for your home. Ask:
- What bothers you most day-to-day (poor lighting, lack of storage, outdated finishes, inefficient systems)?
- How do people actually use the space?
- What is the realistic budget, including a 15–20% contingency for surprises?
- Are you staying long-term or planning to sell in a few years?
Write a simple project brief. List must-haves versus nice-to-haves. Prioritize high-impact, high-ROI areas first: kitchens and bathrooms often deliver strong returns when done thoughtfully, while attic insulation, HVAC updates, and exterior curb appeal frequently rank high for both comfort and value. Sequence work logically—demolition and structural changes first, then mechanicals (plumbing, electrical, HVAC), then finishes—to avoid redoing completed sections.
Example: A family with young children focused on durable flooring, better kitchen storage, and improved natural light rather than luxury finishes. They phased the work over two years, starting with the kitchen and main bathroom, which immediately improved daily life while spreading costs.
Budget Smart and Control Costs
Average whole-home renovations vary widely by size and scope, but smaller targeted projects often deliver the biggest satisfaction per dollar. Track every expense. Get multiple detailed quotes. Time non-urgent work for slower seasons when labor and some materials may cost less. Handle low-risk tasks yourself (painting, hardware swaps, basic landscaping, simple fixture changes) and hire licensed pros for structural, electrical, plumbing, roofing, or anything requiring permits.
Build in contingency. Unexpected issues (hidden water damage, outdated wiring, or code requirements) appear frequently. Decide early which items you can live without if costs rise.
Practical tip: Create a simple spreadsheet with columns for estimated cost, actual cost, and notes. Review it weekly. Many homeowners find that focusing spending on one high-impact upgrade (new countertops and hardware in an otherwise solid kitchen, or a full bathroom refresh) yields more visible results than spreading money thinly across many rooms.
Prioritize Function, Then Aesthetics
A beautiful room that does not work well becomes frustrating quickly. Address flow, storage, lighting, and durability first.
- Improve natural and artificial light. Layer ambient, task, and accent lighting. Move curtain rods higher and wider for a taller, brighter feel.
- Maximize storage with smart solutions: pull-out organizers, vertical shelving, under-stair or under-bed options, and multi-functional furniture.
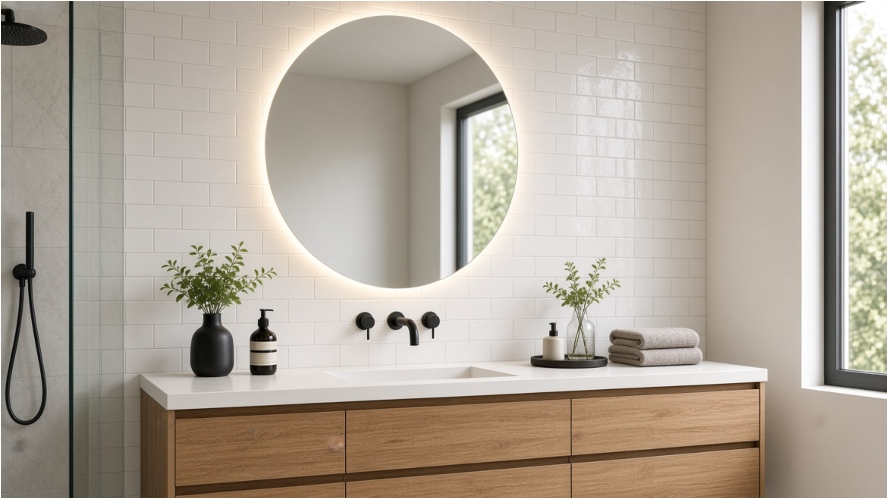
- Choose durable, easy-care materials in high-traffic or wet areas (quality vinyl or engineered hardwood, porcelain tile, quartz or solid-surface counters).
- Update hardware, fixtures, and switch plates. These small changes create a cohesive, higher-quality appearance at relatively low cost.
Example: In a dated galley kitchen, replacing cabinet hardware, adding under-cabinet lighting, installing a better faucet, and painting the cabinets transformed the space without a full gut. The result felt modern and more functional while staying within a modest budget.
Follow a Logical Order of Work
Doing steps out of sequence creates rework and wasted money. A typical sequence looks like this:
- Planning, design decisions, permits, and material selections.
- Strip-out and demolition.
- Structural changes and major openings.
- First-fix plumbing, electrical, and HVAC.
- Insulation, drywall, and plaster.
- Flooring preparation and installation (or protection if finishes come later).
- Tiling, painting, cabinetry, and second-fix work.
- Final fixtures, lighting, hardware, and styling.
Protect finished surfaces during later stages. Keep a running punch list of small items that need attention before final walk-through.
Balance DIY and Professional Help
Many cosmetic updates are realistic for homeowners with basic tools and patience: painting (including cabinets with proper prep), swapping hardware and light fixtures, installing peel-and-stick backsplash or wallpaper, updating window treatments, and simple landscaping.
Call professionals for anything involving load-bearing walls, electrical panels, gas lines, major plumbing, roofing, foundation work, or complex systems. Hybrid approaches DIYing the easy parts while hiring pros for the rest—often deliver the best combination of cost control and quality.
Safety note: Never cut corners on electrical, structural, or moisture-related work. Mistakes here can create hazards or void insurance.
Focus on High-Impact, Current Approaches
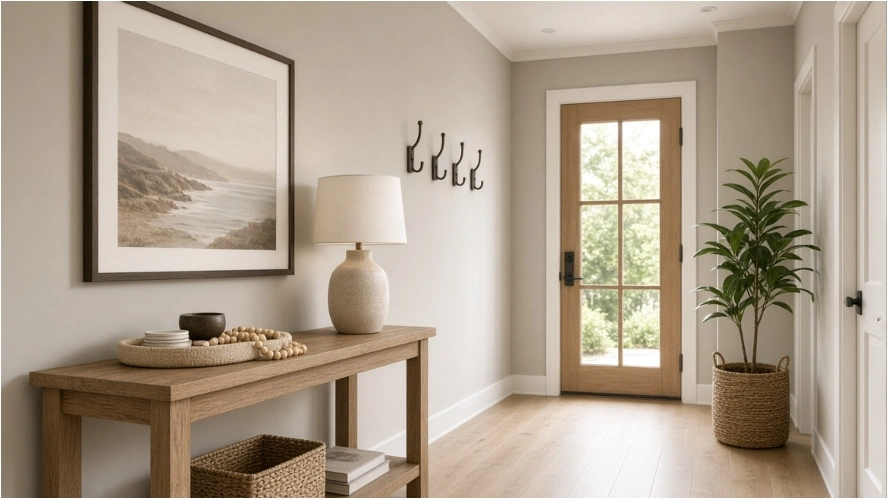
Recent homeowner priorities lean toward practical improvements: better energy efficiency, smart home features for convenience and security, durable finishes that stand up to real life, and outdoor living spaces. Warmer neutrals, layered textures, and purposeful lighting tend to create inviting rooms more successfully than pure cool grays or trend-chasing extremes.
Consider:
- Energy upgrades (insulation, efficient windows or HVAC, smart thermostats) that improve comfort and operating costs.
- Lighting and hardware refreshes that instantly elevate a room.
- One completed room done thoroughly rather than half-finished spaces throughout the house.
- Outdoor updates that expand usable living area.
Example: Homeowners who painted an accent wall behind a bed in a deeper warm tone, upgraded the ceiling light, hung curtains closer to the ceiling, and added textured bedding and a large mirror created a more polished, restful primary bedroom without major construction.
Avoid Common Mistakes
- Skipping proper planning and jumping straight into demolition or purchases.
- Underestimating time and mess (living on-site during major work is stressful; factor this in).
- Choosing trendy materials that may date quickly or prove hard to maintain.
- Neglecting permits or code requirements.
- Failing to protect existing finishes or coordinate trades.
- Over-improving beyond neighborhood norms if resale is a goal.
Document everything: contracts, receipts, product warranties, and before/after photos. Keep records for insurance, future maintenance, or potential sale.
Finishing Touches That Make the Difference
Once the heavy work is done, style thoughtfully. Layer textiles, add plants or art that reflects your life, and edit clutter. A completed room with cohesive details feels intentional and livable. Step back periodically and live with the space before adding more.
Renovation success comes from matching the project to how you actually live, controlling the process, and balancing ambition with practicality. Start small if needed, measure progress by improved daily experience rather than perfection, and adjust as you go. With clear priorities and steady execution, the results can feel transformative without overwhelming cost or chaos.
These approaches emphasize real-world usability, thoughtful sequencing, and lasting value principles that help create homes that work better and feel more like yours.