
Have you noticed your home’s walls looking worse for wear? The skirting boards have gone the colour of weak tea, there’s a grey smudge round the light switch, and the wall by the stairs is covered in little holes from pictures that went in the bin long ago.
It doesn’t mean the place needs ripping apart. A couple of free weekends, a decent playlist, and a bit of patience will get plenty done to make your home feel put together again, and the difference will be bigger than you’d think if you use the tips below.
Look Properly Before You Start
Assessing the work needed is best in artificial light. Pick a gloomy afternoon, draw the curtains and hold a torch flat against the wall so the beam skims along the surface. Every dent, crack and lumpy old patch of filler suddenly shows itself, and it’s a little humbling how many there are.
Mark each one in pencil, then do the same around the woodwork, checking for flaking paint and places where the skirting has pulled away from the wall. It takes about ten minutes, and it saves the frustration of spotting a problem after the final coat is on.
Wash Everything Down
The urge to get the paint tin open straight away is a fair one, but paint can’t grip onto grease, and walls collect far more of it than you’d think, especially in kitchens and hallways where people brush past all day with coats and shopping bags.
A bucket of warm water with a little sugar soap (or washing soda) does the job. Start at the bottom and work upwards, because drips running down a clean wall leave tracks that are annoyingly stubborn.
Spend a bit longer around the switches and the edges of doors near the handle, where hands land a hundred times a day, then leave everything to dry. In a cold room, that might mean overnight to ensure everything dries fully before the next step.
Filling, Sanding and Caulking
Nail holes are easy to fix: press in a little ready-mixed filler with a flexible knife and leave it slightly proud of the surface. Cracks are fussier and hold filler better if they’re scraped out first, so there’s something for it to cling to. Once it’s dry, sand it flat with fine paper and smooth over it with your palm to ensure it’s flush to the surface.
If your hand can find it, your eyes will too once there’s paint on top, and few things are more irritating than a repair that only shows itself in the evening light. The thin gaps along skirting boards and around door frames are a job for decorators’ caulk, squeezed on and smoothed with a damp fingertip. It costs next to nothing and is the best way to make old woodwork look newly fitted effortlessly.
Sort Out Your Kit First
It pays to lay everything out beforehand, with filler, caulk, sandpaper, tape and a couple of decent brushes all within reach. If anything’s missing, paint, tools and decorating materials can be ordered online and delivered before the weekend.
Being prepared beats a grumpy dash to the shops with half the room taped off. Brushes are worth spending a little extra on, since cheap ones shed bristles that end up set into the finish, and nobody enjoys picking those out of wet gloss.
Giving Tired Woodwork a Lift
This is where the room really changes. White gloss that has slowly turned cream looks grubby beside fresh walls, a bit like wearing clean trousers with muddy shoes. Rub the surface down with a sanding sponge so the new paint has something to hold on to, wipe away the dust with a damp cloth, and prime any bare wood.
Two thin coats work better than one heavy one, since thick paint sags into drips and can stay soft for days. Brush along the grain, keep a wet edge and then leave it alone.
Choosing a Colour
Pale, warm shades tend to open up a small room, while deep greens and blues suit a living room used mostly after dark, when artificial lights from lamps and the telly are on. Before committing, paint a decent-sized patch on two different walls and look at it at breakfast, mid-afternoon, and under lamplight. This is because the same shade can look like three different colours in a day.
White is popular for woodwork because of its clean and defining lines. For a softer feel that easily hides scuff marks, consider painting the skirting and doors in the same colour as the wall or a shade darker.
Painting in the Right Order
Ceiling first, then walls, then woodwork, so any drips fall onto surfaces that haven’t been finished yet. Cut in along the edges with a brush and roll straight afterwards while that edge is still wet, or a faint stripe will show where the two meet. Go easy when loading the roller, because a soaked one spits paint across the room and leaves a bumpy, orange peel texture.
Once paint is bone dry, a strip of fresh paint can come away with it, and watching an hour of careful work lift off in one go feels horrible. Be sure to take masking tape off while the paint is still a little tacky, peeling it back on itself slowly.
The Last Few Details
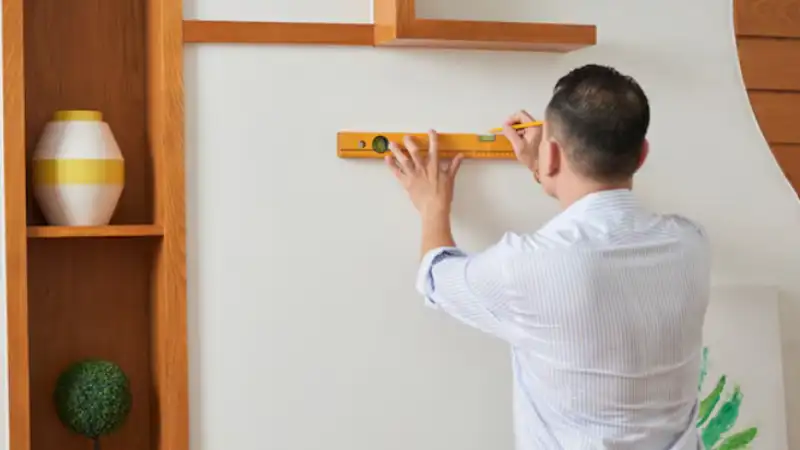
Once everything has dried, take a slow look around at what’s left. Yellowed switch plates and sockets look worse than ever against a clean wall, and they’re cheap to swap, as are worn door handles. New screws are worth using too, so shiny fittings aren’t going back on with rusty ones. Hang pictures and mirrors last and measure twice, because every extra hole is another one to fill later.
A few days later, you’ll notice the room feels instantly calmer and tidier thanks to some careful planning and a little hard work. Pick a room, grab a torch, and see what you can achieve in a weekend.